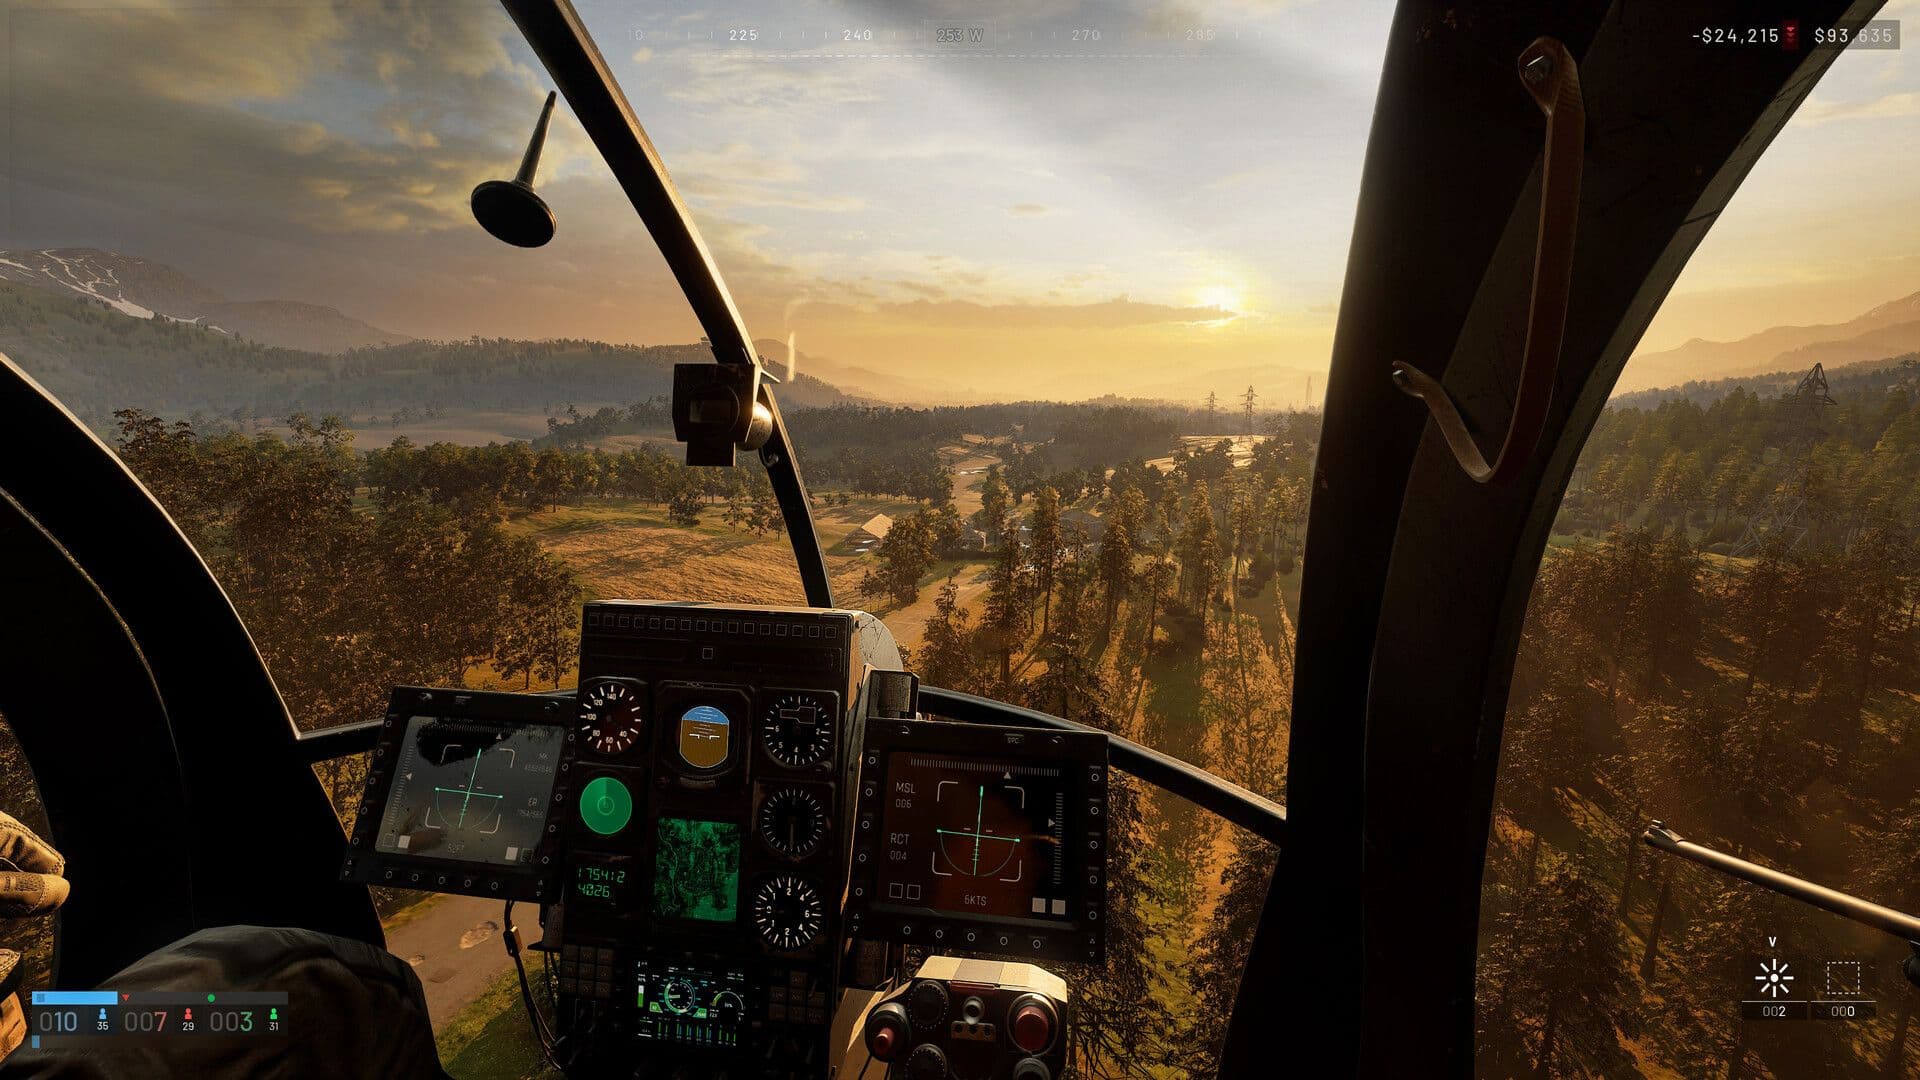
Pilot has the single highest XP action in WARDOGS: a supply pallet dropped into the Control Zone pays 750 Pilot XP. A small supply crate pays 250. For comparison a Medic bandage is 80 and a Driver delivery is 50. A pilot who can turn a full supply run around every few minutes outlevels everyone else on the server without firing a shot - and levels Support at the same time, because the supplies themselves credit that track. The catch is in the word can: helicopter handling is unforgiving, and a crash or a team kill costs $1,500 per player aboard. This guide is the loop, and the practice that makes it pay.
How class XP works in WARDOGS
There's no class select. You have all six tracks - Assault, Medic, Recon, Support, Driver and Pilot - at once, and the one that levels is whichever your gear and actions feed that life. Every weapon, tool and vehicle in the vendor is tagged to exactly one track (hover the tile and it tells you), and every teamplay action pays a specific track too. Your Wardog level isn't a separate bar: it's the six class levels added together, and it's what gates armour, helmets, backpacks, ammo types and the heaviest vehicles.
Two things follow from that. First, the XP follows the item, not your intentions - a "recon player" holding an assault rifle is levelling Assault. Second, since Wardog level is a straight sum and the early levels are cheap, six shallow tracks beat one deep one: Season 1's curve is unchanged below level 6, then slows, with level 10 at 35,000 cumulative XP, 20 at 250,000 and 50 at 1,000,000. Taking every class to 10 costs a fraction of taking one class to 30, and hands you the early unlock on all six ladders.
What the Pilot class actually does
- Supply drops. Pallets and crates flown from HQ to the zone or a FOB. 750 XP per pallet, 250 per small crate, plus Support XP for the delivery.
- Transport. Passengers delivered into the Control Zone pay the same as Driver: 50 XP on the drop, 50 more if they survive about ten seconds.
- Air support. Helicopter rockets, autocannon and miniguns are Pilot-tagged, so kills from the AH-6M pay Pilot.
The ladder: the armed AH-6M Little Bird at Pilot 4, and the Z20 Lakota transport at Pilot 10 ($35,000 one-off in Season 1, down from $50,000; the Lakota replaced the UH-1Y in the second beta). The Little Bird with miniguns went the other way, to $50,000. Transports cost roughly $6,000-$8,000 a life; the armed birds $7,000-$12,500.
The core Pilot loop
Step 1 - Training ground first. Ten minutes of landings before your first passenger. The friendly-fire fine is $1,500 per player, and crashing a full cabin is the most expensive mistake in the game.
Step 2 - Cheapest transport you can afford. Fill it with $400 pallets and passengers. A full airframe is several thousand dollars of cash and, at 750 XP a pallet, the fastest XP in the game.
Step 3 - Into the zone, or a FOB. Pallets pay on landing in the Control Zone; if contested airspace keeps shooting you down, deliver to a friendly FOB instead - lower risk, and still Pilot XP for the run plus Support XP for the supplies.
Step 4 - Parachute, always. About $100 of insurance on a $6,000 airframe. If a SAM locks you, jump - you keep your kit.
Step 5 - Straight back. The helicopter earns nothing on the pad. Land, reload, fly.
Best XP method for Pilot
Pallet runs. Nothing else in the game approaches 750 XP for a single action, and a run carries several. The optimisation is the same as Support's: early in the match carry build supplies, because the FOB doesn't exist yet and every purchase from your delivery pays; once it's up, carry ammunition and consumables, because the front line never stops needing them.
Once you can fly, the armed Little Bird is the combat version of the class - Pilot XP for every rocket and minigun kill - but it's a $7,000-plus loss every time it goes down, and the zone is full of people who want it to. Fly the transport until the balance can take it.
What slows Pilot: crashing (the fine plus the airframe), flying an empty cabin, and hovering over a contested zone with a SAM on you instead of diverting to a FOB.
Quick checklist
- Training ground before the first passenger
- Cheapest transport, full of $400 pallets and people
- 750 XP per pallet, 250 per crate, 50 (+50) per passenger
- Contested zone? Deliver to a friendly FOB instead
- Parachute on every flight; jump if a SAM locks
- Build supplies early, ammo once the FOB is up
- Armed Little Bird only when losing $7,000 wouldn't hurt
FAQ
Is Pilot the fastest class to level? By confirmed per-action values, yes - 750 XP for a pallet drop is the highest single action in the game. Combat pays more per kill, but risks the kit.
Do I need Pilot level to fly at all? No - the cheapest transports need no level. The Z20 Lakota is the Pilot 10 unlock, the armed Little Bird is Pilot 4.
Does a pallet delivered to a FOB pay the same as one in the zone? It pays Pilot for the run and Support for the supplies either way; the cash side is lower at a FOB but so is the risk. The cash farming guide has the figures.
What if I crash with passengers? $1,500 per player, plus the airframe. That's why the training ground comes first.
Will these numbers change? Probably. BULKHEAD has said progression beyond the first twenty or so levels will be tuned per season, and the Season 1 curve already differs from the beta's. The per-action values here are community-confirmed as of 12 September 2026; we'll update this guide when a patch moves them.
Want to skip the grind? The Class XP Boost levels Pilot for you: pick Pilot as the class when you order. We deliver it by logging into your account, which BULKHEAD's rules count as account sharing, so read what that risks first. The loops above earn the same XP with no risk to the account, and everything else we sell for WARDOGS is on the Wardogs page.